Professional Timber Window Putty Repair: Techniques and Best Practices
Window putty, also known as glazing compound, plays a crucial role in the performance and longevity of timber sash windows. This seemingly simple material serves multiple functions: it holds the glass securely in place, creates a weather-tight seal against the elements, and contributes to the window’s overall aesthetic appearance. Despite its importance, putty is often overlooked in window maintenance until problems become apparent and urgent attention is required.
Understanding the complexities of window putty – from the different types available to the proper techniques for application and maintenance – is essential for anyone responsible for the care of timber windows. Whether you’re dealing with minor putty repairs or planning a comprehensive reputting project, the knowledge and techniques outlined in this guide will help you achieve professional-quality results that will protect your windows for decades to come.
Proper putty work is both an art and a craft, requiring patience, skill, and understanding of traditional materials and methods. Whilst modern alternatives exist, the principles established over centuries of glazing practice remain the foundation for successful putty repair and replacement. This comprehensive guide will equip you with the knowledge needed to maintain this critical component of your timber windows effectively.
Understanding Window Putty and Its Critical Role
Window putty serves several essential functions that are often underappreciated until problems develop. Its primary role is structural – holding glass panes securely within the window frame whilst allowing for the natural movement of both timber and glass in response to temperature and humidity changes.
The weatherproofing function of putty is equally important. A properly applied putty seal prevents water ingress around the glazing, protecting the timber frame from moisture damage that can lead to rot and decay. This weather barrier must remain flexible enough to accommodate seasonal movement whilst maintaining an effective seal against wind-driven rain and moisture.
From an aesthetic perspective, putty provides the finished appearance that defines the character of traditional timber windows. The profile and finish of the putty line contributes significantly to the window’s visual appeal and architectural authenticity. Poor putty work is immediately apparent and can detract significantly from a property’s appearance.
Traditional linseed oil putty, made from whiting (powdered chalk) and raw linseed oil, remains the gold standard for timber window glazing. This material develops a flexible, durable skin whilst remaining somewhat plastic beneath, allowing it to accommodate movement whilst maintaining its sealing properties. The slow curing process of linseed oil putty – which can take several months to fully harden – is actually beneficial, as it allows the material to adjust to the window’s movement patterns.
Modern synthetic putties and glazing compounds offer certain advantages, including faster curing times and consistent performance, but they may not be appropriate for all applications, particularly in historic or conservation contexts where traditional materials are preferred or required.
Identifying When Putty Repair is Needed
Regular inspection of window putty should form part of your routine window maintenance programme. Early identification of putty problems allows for prompt repair before minor issues develop into more serious problems that could affect the timber frame or glazing.
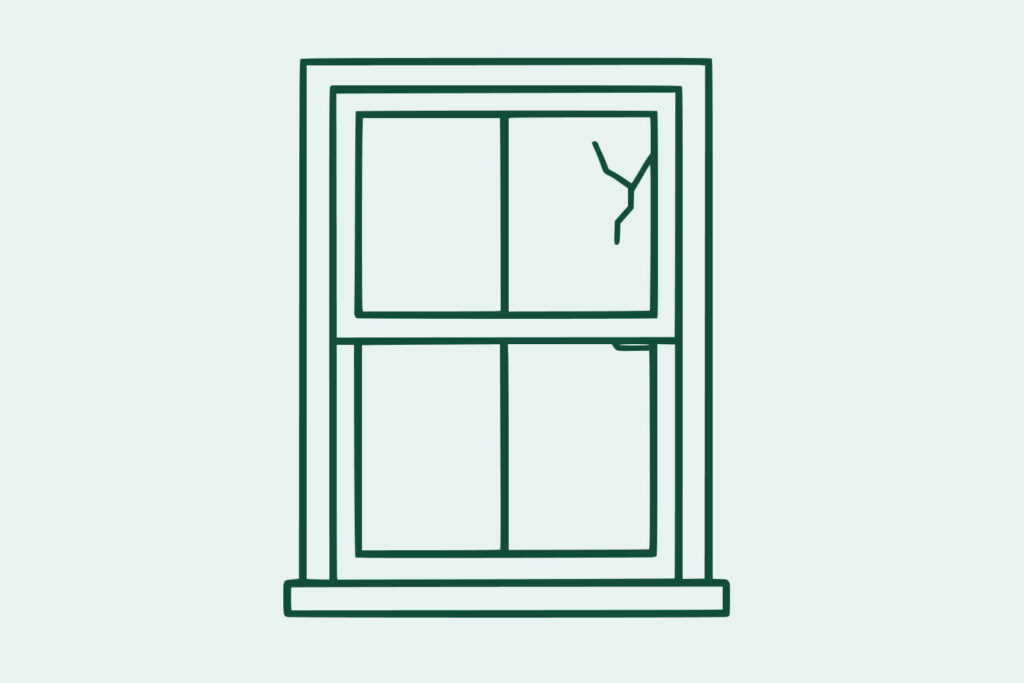
Visual Signs of Putty Deterioration are often the first indicators that attention is needed. Look for cracks in the putty surface, which can allow water ingress and should be addressed promptly. Shrinkage gaps between the putty and either the glass or timber frame indicate that the putty has lost its adhesion or flexibility and may need replacement.
Colour changes in the putty can also indicate problems. Whilst some weathering and colour change is normal, dramatic darkening, staining, or discolouration may indicate moisture problems or incompatible materials that require investigation.
Physical Condition Assessment involves gently probing the putty with a blunt instrument to assess its condition. Healthy putty should feel firm but slightly yielding, similar to hard cheese. Putty that has become rock-hard and brittle, or conversely, remains soft and oily after years of exposure, indicates problems that need addressing.
Look for areas where putty has become loose or is pulling away from the glass or frame. This loss of adhesion compromises both the structural and weatherproofing functions of the putty and requires prompt attention.
Functional Problems may also indicate putty issues. If you notice draughts around glazed areas, water ingress during storms, or rattling glass panes, deteriorated putty may be the cause. These functional problems often develop gradually and may not be immediately apparent during casual observation.
Condensation problems between glass panes (in the case of early double glazing) or persistent fogging of glass surfaces may also indicate putty seal failure that’s allowing moisture ingress.
Types of Window Putty and Glazing Compounds
Selecting the appropriate putty or glazing compound is crucial for successful repair work. Different materials have distinct characteristics, advantages, and appropriate applications that must be understood for optimal results.
Traditional Linseed Oil Putty remains the preferred choice for most timber window applications, particularly in historic or conservation contexts. Made from whiting and raw linseed oil, this material offers excellent compatibility with timber and provides the authentic appearance and performance characteristics expected in traditional glazing.
The slow curing process of linseed oil putty allows it to form a flexible skin whilst remaining somewhat plastic beneath. This characteristic enables the putty to accommodate the natural movement of timber windows whilst maintaining effective seals. Properly applied linseed oil putty can last 20-30 years or more with appropriate maintenance.
However, linseed oil putty requires specific conditions for successful application and curing. It performs best when applied to properly primed timber in dry conditions, and the long curing time means it remains vulnerable to damage for several months after application.
Acrylic Glazing Compounds offer faster curing times and more consistent performance than traditional putty. These modern materials are less sensitive to application conditions and can often be painted sooner than linseed oil alternatives. They’re particularly suitable for situations where quick turnaround is essential or where traditional putty has repeatedly failed.
However, acrylic compounds may not provide the same longevity as traditional putty, and their appearance and performance characteristics may not be appropriate for historic or conservation applications. They can also be more difficult to remove when replacement becomes necessary.
Hybrid Products attempt to combine the benefits of traditional and modern materials. These products typically use modified linseed oil formulations with additives to improve curing times, weather resistance, or workability. They can offer good compromise solutions for situations where pure traditional materials are problematic but authentic appearance is important.
Specialised Conservation Putties are available for historic building applications where traditional materials and methods are essential. These products are formulated to replicate historical putty compositions and performance characteristics whilst meeting modern conservation standards.
Professional Putty Removal Techniques
Proper removal of old putty is crucial for successful reputting work. Rushed or inappropriate removal techniques can damage the timber frame or glass, creating additional problems and costs. Professional removal requires patience, appropriate tools, and understanding of the materials involved.
Assessment and Planning should precede any removal work. Examine the condition of both the putty and the surrounding timber and glass to determine the most appropriate removal strategy. Some putty may be salvageable with minor repairs, whilst other sections may require complete replacement.
Consider the type of putty being removed, as this affects the removal strategy. Hard, brittle putty may require different techniques than soft, oily material. Historical putty containing white lead requires special handling precautions due to health and safety considerations.
Heat Application is often the most effective method for softening old putty to facilitate removal. A traditional glazier’s knife heated over a flame or a modern heat gun can soften putty sufficiently to allow careful removal without damaging the surrounding materials.
When using heat, work systematically and avoid overheating, which can damage the timber or crack the glass. The goal is to soften the putty just enough to allow removal – excessive heat can cause more problems than it solves.
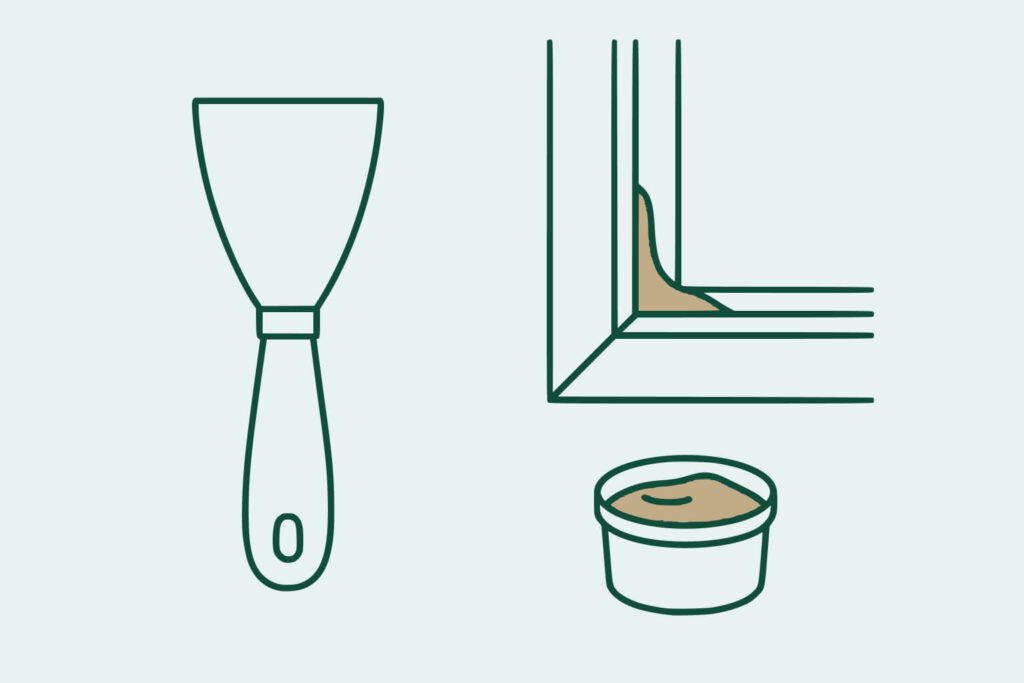
Mechanical Removal using appropriate tools is necessary once the putty has been softened. Traditional glazier’s knives, putty knives, and specialised removal tools allow for controlled removal that minimises damage to the frame and glass.
Work carefully around the glass edges, as excessive pressure or inappropriate tool angles can cause cracks or chips. Remove putty in manageable sections rather than attempting to remove large areas at once.
Chemical Softening Agents can be useful for particularly stubborn putty, though they should be used with caution and appropriate safety precautions. Some commercial putty softeners can make removal easier, but they may also affect the timber or require special disposal considerations.
Surface Preparation for New Putty
Proper surface preparation is essential for successful putty application and long-term performance. Inadequate preparation is one of the most common causes of premature putty failure and should never be rushed or compromised.
Timber Preparation begins with thorough cleaning of the glazing rebate to remove all traces of old putty, dirt, and loose material. The timber surface should be sound, dry, and properly prepared to receive the new putty.
Any damaged or rotted timber should be repaired before putty application. Small areas of damage can often be consolidated with wood hardeners or filled with appropriate repair compounds, but significant damage may require timber replacement.
The glazing rebate must be properly primed with appropriate primer before putty application. This priming is crucial for good adhesion and prevents the timber from absorbing oil from the putty, which can lead to premature failure. Use primers specifically designed for glazing work, as general-purpose primers may not provide adequate performance.
Glass Preparation involves thorough cleaning to remove all traces of old putty, dirt, and any glazing compounds from the glass edges. The glass surface must be completely clean and dry for proper putty adhesion.
Inspect the glass for any chips, cracks, or damage that might affect the putty seal or compromise the glazing. Minor edge chips can often be accommodated by careful putty application, but significant damage may require glass replacement.
Environmental Conditions must be appropriate for putty application. Avoid working in wet conditions, extreme temperatures, or high humidity, as these can affect putty performance and curing. Ideal conditions are dry, mild weather with moderate temperatures and low humidity.
Professional Application Techniques
Applying window putty is a skilled operation that requires proper technique, appropriate tools, and understanding of the material’s working properties. Professional-quality results depend on methodical application and attention to detail throughout the process.
Putty Preparation is crucial for successful application. Traditional linseed oil putty often requires kneading to achieve the proper consistency for application. The putty should be pliable but not sticky, with a smooth, uniform texture throughout.
Work the putty by hand or with appropriate tools until it reaches the correct consistency. This process also helps distribute the oil evenly throughout the material and removes any air bubbles that could affect performance.
Initial Bedding involves applying a thin layer of putty to the glazing rebate before installing the glass. This bedding compound ensures good contact between the glass and frame and helps create an effective seal against water ingress.
Apply the bedding putty evenly throughout the rebate, ensuring complete coverage without excess material that might interfere with glass installation. The bedding layer should be thin but continuous, providing a cushion for the glass whilst maintaining proper positioning.
Glass Installation must be done carefully to avoid disturbing the bedding compound whilst ensuring the glass is properly positioned and secured. Use appropriate glazing sprigs or clips to hold the glass in position whilst the face putty is applied.
Ensure the glass is properly centred in the opening with even margins all around. Uneven positioning can create stress concentrations that may lead to glass breakage or putty failure.
Face Putty Application creates the visible seal and weather barrier. Apply putty generously along the glass edge, then use a putty knife to create the proper profile and finish. The putty should extend slightly onto the glass surface to create an effective weather seal whilst maintaining the traditional appearance.
Work systematically around the glazed area, maintaining consistent pressure and angle with the putty knife to create uniform appearance and performance. The finished putty line should be smooth, even, and properly profiled to shed water effectively.
Finishing and Curing Considerations
Proper finishing and curing are essential for long-term putty performance. Understanding the curing process and providing appropriate protection during this vulnerable period will ensure optimal results from your putty work.
Surface Finishing involves creating the final appearance and profile of the putty line. Use appropriate tools to smooth the putty surface and create clean, straight lines that enhance the window’s appearance. Remove any excess putty from the glass surface using a sharp knife or appropriate scraper.
The finished putty should have a slight slope away from the glass to encourage water runoff whilst maintaining good adhesion to both glass and timber. Avoid creating profiles that might trap water or debris.
Curing Protection is crucial during the initial curing period when the putty is most vulnerable to damage. Protect newly applied putty from rain, extreme temperatures, and physical damage for at least the first few days after application.
Traditional linseed oil putty requires several weeks to develop a paintable skin, and complete curing can take several months. During this period, the putty remains somewhat soft and vulnerable to damage, so avoid unnecessary disturbance.
Painting Considerations must account for the putty curing process. Traditional putty should not be painted until it has developed a firm skin, typically 2-4 weeks after application. Premature painting can trap solvents and prevent proper curing, leading to long-term problems.
When painting is appropriate, use compatible paint systems that allow the putty to continue curing. Oil-based paints are generally preferred for traditional putty applications, as they’re more compatible with the linseed oil base.
Common Mistakes and How to Avoid Them
Understanding common putty repair mistakes will help you avoid problems that can compromise the quality and longevity of your work. Many putty failures result from preventable errors in technique or material selection.
Inadequate Surface Preparation is perhaps the most common cause of putty failure. Rushing the preparation process or failing to properly prime timber surfaces almost guarantees premature failure. Always invest adequate time in thorough preparation – it’s the foundation of successful putty work.
Applying putty to damp or poorly prepared surfaces creates immediate adhesion problems that will manifest as early failure. Ensure all surfaces are clean, dry, and properly primed before beginning putty application.
Inappropriate Material Selection can cause both immediate and long-term problems. Using modern synthetic compounds on historic windows may create compatibility issues, whilst using traditional materials in inappropriate conditions can lead to poor performance.
Consider the specific requirements of your application, including environmental conditions, conservation requirements, and performance expectations when selecting putty materials.
Poor Application Technique results in putty that looks unprofessional and may not perform adequately. Common technique errors include applying putty too thickly, creating inappropriate profiles, or failing to achieve good adhesion to both glass and timber.
Take time to develop proper technique through practice and observation. Professional putty work requires skill that develops over time, so don’t expect perfect results immediately.
Environmental Factors are often overlooked but can significantly affect putty performance. Applying putty in inappropriate weather conditions, failing to protect work during curing, or ignoring seasonal timing can compromise results.
Plan putty work for appropriate weather conditions and ensure adequate protection during the vulnerable curing period.
DIY vs Professional Putty Repair
Deciding whether to undertake putty repair yourself or engage professional services depends on various factors including the scope of work, your skill level, available time, and the importance of achieving optimal results.
DIY Suitability depends largely on the extent of work required and your comfort level with detailed manual work. Small-scale repairs involving a few panes can be suitable DIY projects for homeowners with basic manual skills and patience to learn proper techniques.
However, putty work requires specific tools, materials, and techniques that may not be familiar to most homeowners. The learning curve can be steep, and mistakes can be costly to rectify.
Consider starting with less visible or critical areas to develop skills before tackling prominent windows or extensive projects. Practice on spare glass or test areas can help build confidence and technique.
Professional Advantages include access to appropriate tools, materials, and expertise developed through extensive experience. Professional glaziers understand the subtleties of different putty types, application techniques, and environmental factors that affect performance.
For extensive reputting projects, conservation work, or situations where optimal results are essential, professional services typically provide better value despite higher initial costs. The longevity and performance of professional work often justify the investment.
Professional services also typically include warranties or guarantees that provide protection against premature failure, offering peace of mind that DIY work cannot match.
Cost Considerations must account for both immediate costs and long-term performance. DIY putty repair can be cost-effective for small projects, but the cost of tools, materials, and potential mistakes can quickly escalate for larger projects.
Professional services may appear expensive initially, but the superior longevity and performance often make them more cost-effective over the long term. Factor in the value of your time and the risk of substandard results when comparing options.
Integration with Overall Window Maintenance
Putty repair and maintenance should be integrated with your overall window care programme rather than treated as an isolated activity. This integrated approach ensures optimal performance and cost-effectiveness of all maintenance activities.
Coordinate putty work with other maintenance activities such as painting, draught proofing improvements, or mechanical repairs. This coordination can reduce overall costs and minimise disruption whilst ensuring all work is completed to consistent standards.
Consider putty condition when planning window restoration or improvement projects. If extensive restoration work is planned, reputting should be included in the project scope to ensure optimal results and cost-effectiveness.
Regular putty inspection should form part of your routine maintenance programme, allowing for early identification of problems and planned repair rather than emergency intervention. This proactive approach typically results in better outcomes and lower costs.
Document putty work as part of your overall maintenance records, including materials used, techniques employed, and performance observations. This information helps guide future maintenance decisions and can be valuable for warranty or insurance purposes.
Future-Proofing Your Putty Investment
Maximising the longevity and performance of putty repair work requires ongoing attention and appropriate maintenance practices. Understanding how to protect and maintain your putty investment will ensure optimal long-term results.
Establish a regular inspection routine that includes putty condition assessment as part of your broader window maintenance programme. Early identification of developing problems allows for prompt intervention before major repairs become necessary.
Maintain appropriate environmental conditions around your windows by ensuring adequate ventilation, managing humidity levels, and addressing any sources of excessive moisture that might affect putty performance.
Protect putty from physical damage through careful window operation and maintenance practices. Avoid using windows as supports for ladders or scaffolding, and be cautious when cleaning or maintaining adjacent areas.
Keep records of putty work including materials used, application dates, and performance observations. This documentation helps track the effectiveness of different approaches and guides future maintenance decisions.
Professional window putty repair represents a crucial aspect of timber window maintenance that requires understanding, skill, and attention to detail. Whether undertaken as DIY projects or professional services, proper putty work protects your windows, enhances their appearance, and contributes to their longevity.
For homeowners seeking expert putty repair services or professional advice on glazing maintenance, consulting with experienced timber window specialists ensures access to the knowledge and skills necessary for optimal results.